
Liikennematto devlog series
- Prototyping traffic simulation with Elm
- Build your own roundabout! (this post)
- Lots to do
- Hello real-time traffic simulation
- Renovation and release
Welcome back to the Liikennematto devlog!
A quick recap of the previous post: Liikennematto is a traffic simulation prototype. I've implemented basic traffic rules with board game -like logic using the Elm programming language and SVG output.
This post sums up the development progress of the last four months. These four months have been eventful to say the least: I became a father and got married 🥰 Though these changes have made me super busy (and happy), I found some time to work on Liikennematto. Major life changes can also be a great source of inspiration. I've certainly spent a lot of time thinking about the roadmap for this project e.g. while comforting my baby boy!
Headline feature of this post is the map editor. I've also implemented rudimentary one-way traffic and refactored the simulation.
Map editor, take 1: what you see is what you get
Laying out maps in code got cumbersome pretty fast. Liikennematto direly needed a map editor. With the editor I could try out different road configurations and find out if they work.
I started off with learning how to use elm-ui. It's a popular Elm library that allows the developer to build (complex) user interfaces without directly dealing with HTML and CSS. Most of the primitive building blocks — such as buttons and typography — can be laid out in horizontal and vertical layouts. Things can be easily stacked (in terms of depth) and placed right next to each other. All of the UI, editor and otherwise, is built with it.
The existing UI components for debugging and simulation control were quickly replaced with the elm-ui counterparts. I chose a horizontal UI layout that leaves maximum vertical space for the rendered simulation on target devices (desktops, tablets in landscape orientation). The render is embedded inside the UI and sandwiched between the "toolbar" and "menu" components. I added an overlay that's stacked on top of the render. The overlay accepts user input and highlights the selected tile, indicating whether an action is allowed or not. I am planning to try a WebGL-based rendered at some point, so it made sense to decouple input from the render.
The actual editing part was easy to implement. I simply laid out all possible tiles on the toolbar. The tiles can be selected and drawn on the 'matto canvas like a stamp. The rather obvious downside is that one often has to change the tile type while building a map. I also added a "bulldoze" tool that makes it easy to destroy tiles. The whole board can be wiped out with the "dynamite" tool to start over. You can toggle between different types of intersection control using the "intersection designer" tool. Behold the end result!
Map editor, take 0010: the smart solution
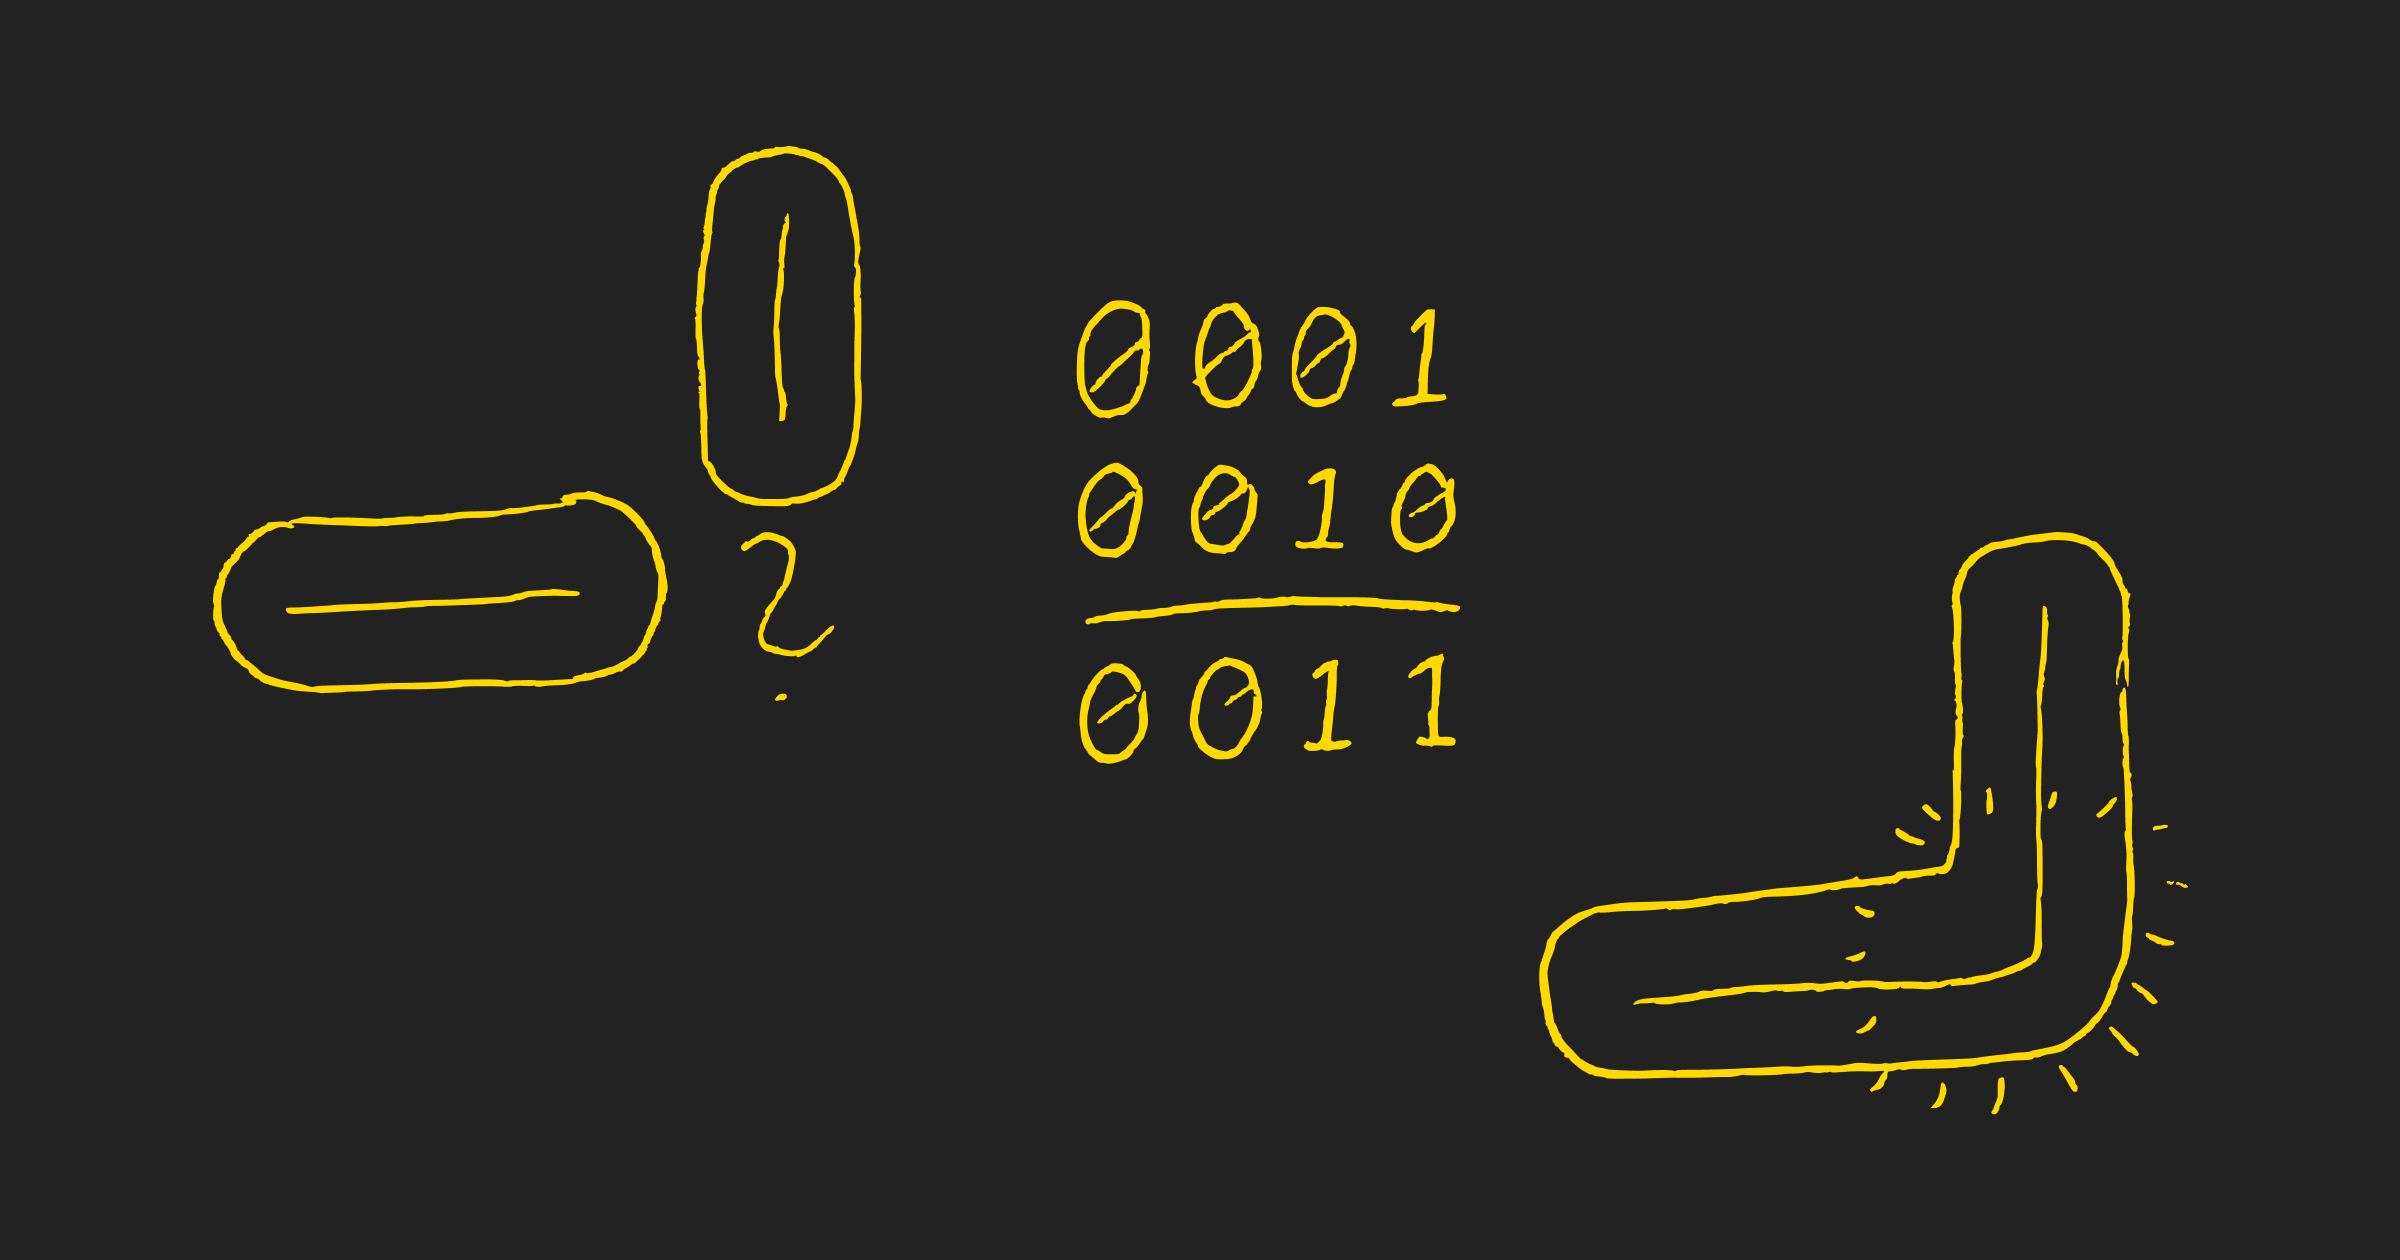
I admit: the first iteration is clumsy and cumbersome. When I posted the video above to gamedevscreens subreddit, a helpful redditor suggested that I could use bit masking to choose tiles based on their surroundings. They linked an article that explains the approach.
4-bit masking was easy to implement.
type alias ParallelNeighbors =
    { north : Bool
    , west : Bool
    , east : Bool
    , south : Bool
    }

{-| Calculates tile number (ID) based on surrounding tiles

    North = 2^0 = 1
    West = 2^1 = 2
    East = 2^2 = 4
    South = 2^3 = 8

    e.g. tile bordered by tiles in north and east directions 1*1 + 2*0 + 4*1 + 8*0 = 0101 = 5
-}
fourBitValue : ParallelNeighbors -> Int
fourBitValue { north, west, east, south } =
    1 * boolToBinary north + 2 * boolToBinary west + 4 * boolToBinary east + 8 * boolToBinary south


boolToBinary : Bool -> Int
boolToBinary booleanValue =
    if booleanValue then
        1

    else
        0
and in the Board module:
chooseTile : Board -> Coords -> Maybe Tile
chooseTile board origin =
    let
        parallelTiles =
            { north = has (Coords.next origin Up) board
            , west = has (Coords.next origin Left) board
            , east = has (Coords.next origin Right) board
            , south = has (Coords.next origin Down) board
            }
    in
    parallelTiles
        |> BitMask.fourBitValue
        |> Tile.fromId

has : Coords -> Board -> Bool
has coords board =
    case get coords board of
        Just _ ->
            True

        Nothing ->
            False
I could then add a "smart construction" tool, which selects an ideal tile based on the surroundings. It works great!
Go ahead and try the live demo! It works best on a desktop, or on a tablet in landscape orientation.
Tiles have more data than just their shape. Initially the bit mask destroyed this data - in practice intersections reverted to their default control and one-way roads were reverted to two-way roads. The editor now re-applies these modifiers if the new layout allows it. In truth, I should separate tile shape from the modifiers. The challenge is to avoid impossible combos like a regular road piece with intersection control.
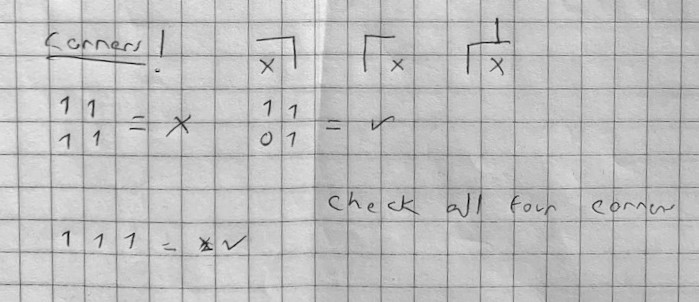
Filling up a 2x2 grid with road tiles created a ridiculous layout. That's why the editor now cycles through the four corners of a 3x3 space around a tile in order to find such problems (and prevent them).
Steal from the best
Townscaper was released in the summer. It's a simple game/toy that allows the player to build modular buildings both horizontally and vertically. It's kinda hard to describe, but it's a piece of art. I love it.
Townscaper has a really simple controller scheme: left click builds the next compatible piece, right click destroys a piece closest to the cursor (in 3d terms). I totally stole the scheme for the smart construction tool! That is, for traditional computers. I will eventually support the scheme on touch devices too. A long press will act like right click. Meanwhile the bulldoze tool will cover for the smart construction tool.
Speaking of mobile/touch device support, it's far from ideal right now. iPad is alright while most phones cannot comfortably contain the editor. Vertical devices could use a vertical UI layout. I'll also eventually get rid of the touch delay.
Roundabouts! (kinda)
I received a feature request on Twitter for roundabouts when I initially tweeted about the project. Roundabouts don't really require any specific logic, just one-way traffic and T-intersections (in terms of 'matto). I implemented one-way traffic for non-intersection pieces by just removing one lane from a two-way road. Because I am lazy, I also restricted the traffic to just one direction (the "natural" driving direction used in roundabouts).
Now, a full implementation would include cars using both lanes and both variations of one-way traffic (to/from). That would require the vehicle simulation to have greater resolution than one tile. Currently lanes in two-way roads are implicit. Car's direction denotes which lane is used. I am going to unchain cars from rigid tile-by-tile movement sometime soon anyway, so I'll take another look at traffic direction then.
Defining simulation rules with types
I grew weary of navigating nested pattern match expressions in the Simulation module. I will slowly implement more traffic rules and add details to others, so the simulation should be architected in a way that makes such work enjoyable. I started the refactor before my son was born and wrapped it up once I got used to changing diapers and new priorities (son's needs are more important than mine) :)
The refactor benefited from ad-hoc planning over a couple of weeks. Staying true to the board game metaphor, I came up with the Round and Rule types. Round contains all data necessary for figuring out which Rules apply.
type alias Round =
    { board : Board
    , activeCar : Car
    , otherCars : List Car
    , currentTile : Tile
    , nextCoords : Coords
    , nextTile : Tile
    , coinTossResult : Bool
    , randomDirections : List Direction
    }


type Rule
    = MovementBlocked
    | TurningRequired
    | AvoidCollision
    | WaitForTrafficLights
    | YieldAtIntersection
    | StopAtIntersection
There's a function for each Rule with a standard signature of Round -> Maybe Rule. Rules have priorities, and the Rule with the highest priority in a simulation round is enforced. If no Rule is in effect, the car can keep on moving. Here's an example:
checkMovementRules : Round -> Maybe Rule
checkMovementRules { currentTile, nextTile, activeCar } =
    let
        canMove =
            Tile.connected activeCar.direction currentTile nextTile
    in
    if canMove then
        Nothing

    else
        Just MovementBlocked

play : Round -> Car
play round =
    if not (Car.isRespawning round.activeCar) then
        activeRulesByPriority round
            |> List.head
            |> Maybe.map (applyRule round)
            |> Maybe.withDefault (Car.move round.activeCar)

    else
        round.activeCar

applyRule : Round -> Rule -> Car
applyRule { activeCar, board, currentTile, randomDirections } rule =
    case rule of
        MovementBlocked ->
            Car.skipRound activeCar

        -- ...other Rules and their modifications to the active Car
The Round module contains everything described above. The Simulation module's traffic logic is now streamlined to selecting the active car and playing the Round for that car. Adios, messy code!
Round.new board model.coinTossResult model.randomDirections car otherCars
    |> Round.attemptRespawn
    |> Round.play
    |> saveChanges
Other changes
Cars "respawn" if they are removed from the board. This may happen when a tile they're on is changed. The simulation loop starts by spawning all cars on empty road tiles.
Yield and stop control now works on either vertical or horizontal priority traffic. I cut some corners here earlier.
I've been adding unit tests ever since the Round refactor. Testing Rounds, Tiles and certain Board functions covers all of the essential logic. Writing tests for pure functions is unsurprisingly easy. I took the effort to craft data for different traffic / environment scenarios and played Rounds using them. Other tests will expose any obvious faults in the bit mask and editor restrictions, etc. Unit tests or not, I still take the time to build road networks in the editor and try out weird layouts.
The board is slightly bigger (from 8x8 to 10x10 tiles) to accommodate roundabouts, which take up 3x3 tiles alone. The board size is arbitrary. I could increase it further, but then I would have to think about zooming and panning. Later!
What's next
I'm brimming over with ideas as the result of summer's worth of pondering. I'm interested in these experiments:
- implement smooth vehicle movement, free from the grid
- add buildings that spawn different types of cars (fire trucks, personal cars, delivery trucks...)
- add residential buildings and/or parking lots
- add goals for cars/their owners with pathfinding
- switch the renderer from SVG to WebGL and work with sprites
- figure out the best touch experience for the editor
- sounds, music?
Many of these are related to/depend on each other. I'll think about the ideal order and get to work. See you next time! 🚧
Follow me on Mastodon for updates in between devlog entries.
